Reviewed · WORKSHOPS
Amsterdam Photography Masterclass – Private Photography Lesson
Good photos start with good timing. This private Amsterdam class pairs a professional photographer with some of the city’s most camera-friendly corners. You get a tight 3-hour walk with smart, practical coaching on how to actually use your camera.
What I like most is the teaching style: you’re not just shown spots, you’re coached on settings and framing as you go. Guides like Renzo (who helped someone nail night photos fast) and William (who tailored the route to the kind of pictures you wanted) make the difference.
One thing to keep in mind: you need to bring your own DSLR camera. No camera is included, and a tripod is only available if you request it.
In This Review
- Key things to know before you book
- A private Amsterdam photo lesson built around shooting, not talking
- Price and logistics: what you’re really paying for
- Before you go: what to bring (and what’s not included)
- Daytime or evening: how timing changes your shots
- The Amsterdam photo stops: what you’ll shoot and why each one works
- Stop 1: Amsterdams Lieverdje statue
- Stop 2: Voetboogstraat and Beijbhof de Voetboogsteeg
- Stop 3: Leidsegracht bridges
- Stop 4: Rijksmuseum and grounds
- Stop 5: Magere Brug and the Amstel
- Stop 6: Nieuwe Kerk
- Stop 7: Blauwbrug
- Stop 8: Nieuwmarkt
- Stop 9: Huis Bartolotti (Museumhuis Bartolotti)
- What the photographer teaches you (and why it sticks)
- Pacing, group size, and comfort on a 3-hour walk
- Who should book this Amsterdam Photography Masterclass
- Should you book it? A quick decision guide
- FAQ
- How long is the Amsterdam Photography Masterclass?
- Is this tour private?
- Where does the tour start?
- What language is the instruction in?
- Do I need to bring a camera?
- Is a tripod included?
- Does it run in bad weather?
- Are meals included?
Key things to know before you book
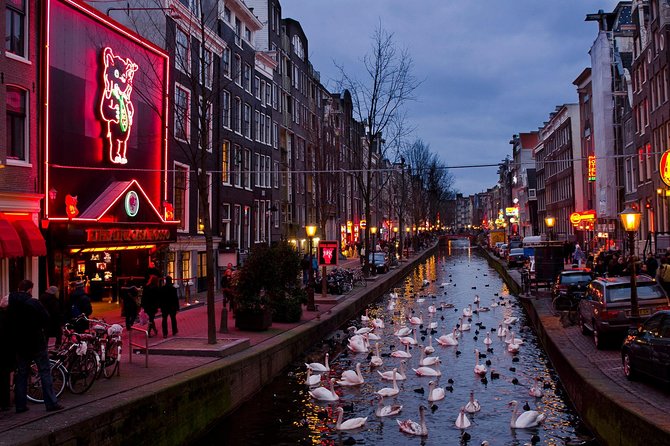
- Private and small (max 4 people), so your guide can adapt to your pace and camera questions
- DSLR coaching that focuses on real-world shooting, not generic photo lectures
- A tight 3-hour route with frequent stops so you can try new ideas right away
- Day or evening options, including instruction that can help with night photography
- All-weather operation, so you’ll want to dress for wind and drizzle
- Major photo landmarks plus lesser-seen spots, keeping variety without wasting time
More private tours with a guide to yourself
- Rijksmuseum Amsterdam Small-Group Tour with Private Upgrade
★ 4.5 · 1,547 reviews - Van Gogh Museum Tour Reserved Entry Semi Private
★ 5.0 · 1,437 reviews - Private Amsterdam Red Light District and Coffee Shop Tour
★ 5.0 · 763 reviews - Anne Frank and Jewish Quarter Amsterdam Private Walking Tour
★ 5.0 · 684 reviews
A private Amsterdam photo lesson built around shooting, not talking
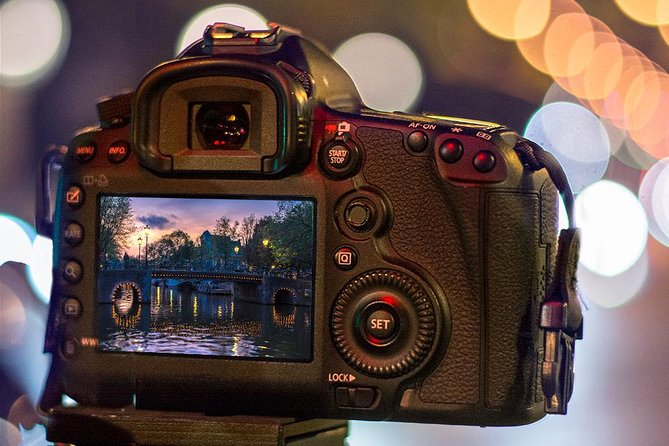
This is the kind of Amsterdam experience that makes sense quickly. You meet up, you walk, you shoot. Then you learn. Then you shoot again. With only a small group, it’s easier for your guide to spot what you’re doing wrong and help you fix it on the spot.
The value is that Amsterdam is already a perfect backdrop. Canals, bridges, historic facades, and those classic street details beg to be photographed. The lesson part is what turns that into results instead of just a pile of random images.
And yes, the tour is designed to be private. That means you’re not stuck waiting behind a large group while your camera plan falls apart.
Price and logistics: what you’re really paying for
At about $204.24 per person for roughly 3 hours, this isn’t a budget add-on. But it can be good value if you’re coming to Amsterdam wanting better photos and more control over your settings.
Here’s how the price makes sense in practice:
- You get a local guide plus a professional photographer guide (so you’re not relying on one person for everything).
- It’s max 4 people per booking, which keeps instruction more personal.
- You’ll cover a concentrated set of subjects: statuary, canals, bridges, churches, and a major museum area—without spending half the time figuring out transit.
If you’re hoping for a “hands-off” sightseeing stroll, this may feel a little more hands-on than you expect. But if you’re motivated to learn your camera and capture the places that match your style, you’re paying for coaching time.
Before you go: what to bring (and what’s not included)
This experience runs in all weather conditions, so plan for a real walk. If it’s cold or wet, your photos will be better when you’re comfortable enough to stand still, compose, and experiment for a moment.
Key practical points:
- You bring your own DSLR camera.
- A tripod is not included, but it’s available upon request.
- The tour is English.
- You’ll get a mobile ticket.
- It’s near public transportation, and the route starts at Leidsekade 97, 1017 PN Amsterdam and ends back there.
If you’re the type who only travels with a phone, this one will be frustrating. The lesson is built around DSLR use, and you’ll get more from it if you’re ready to use what you brought.
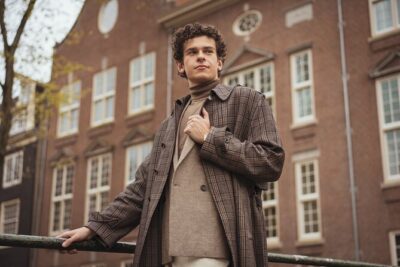
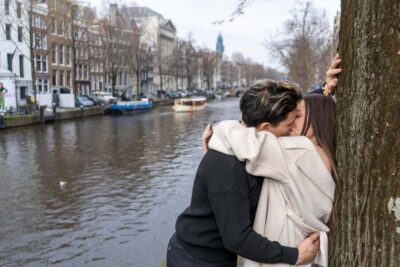
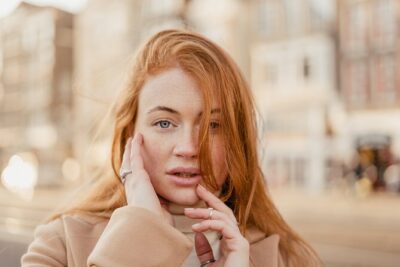
Take home sharper shots of Amsterdam
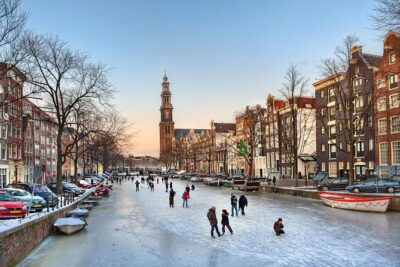
Daytime or evening: how timing changes your shots
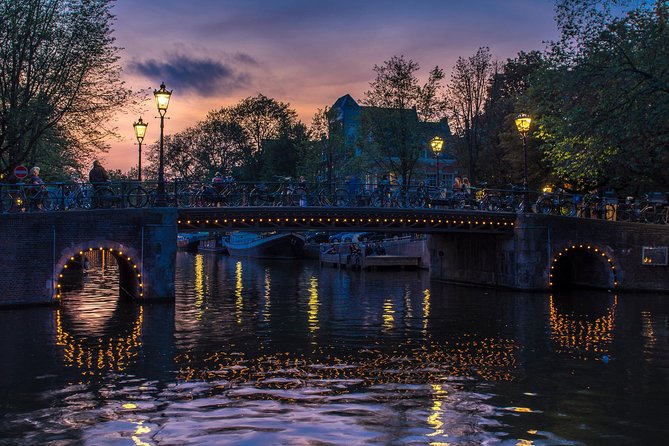
You can choose between daytime and evening tours, and that choice matters. Day trips tend to help with crisp architectural lines and easier exposure in brighter light. Evening trips are where night photos start to become possible—especially if your camera settings are still a mystery.
One review story stood out for this: with Renzo, a participant went from not knowing what their camera could do to successfully shooting night photos in short time. That’s exactly the kind of outcome you’re aiming for if you book the evening option.
So when you decide, ask yourself a simple question: do you want daylight clarity, or do you want moody canals and low-light practice?
The Amsterdam photo stops: what you’ll shoot and why each one works
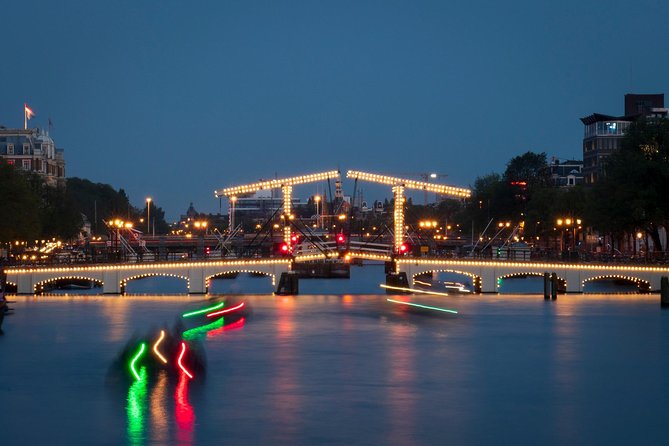
The route is built around short, focused photo sessions. Each stop is about 20 minutes, so you can try ideas quickly and move before you get tired.
Stop 1: Amsterdams Lieverdje statue
You start with the Amsterdams Lieverdje (the affectionate little statue). This is a great warm-up subject because it encourages you to work on detail. You can practice getting close, adjusting angles, and thinking about how to isolate the subject from the surroundings.
A good guide helps here: you’re learning basics while the location is forgiving and doesn’t demand long waits.
Stop 2: Voetboogstraat and Beijbhof de Voetboogsteeg
Next is Voetboogstraat, then you’ll shoot around Beijbhof de Voetboogsteeg. Streets like this are ideal for learning composition because they naturally offer lines, depth, and layers of detail.
The catch (and it’s a small one): these areas can feel busy. Your guide’s job is to help you frame through movement—how to wait for cleaner moments and choose angles that look calm even when people are around.
Stop 3: Leidsegracht bridges
Then it’s out to Leidsegracht, focusing on bridges along the canal. Bridges are a cheat code for photos. They give you leading lines, reflection potential, and strong shapes for easy composition.
This stop is where you can apply what you just learned: viewpoint, vertical vs horizontal framing, and how to keep your background from stealing attention.
Stop 4: Rijksmuseum and grounds
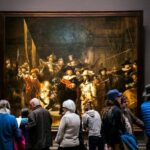
You’ll shoot the Rijksmuseum and its grounds. Big landmarks are excellent training because they force you to get scale right. A common beginner mistake is either too close (cropping off what matters) or too far (the building becomes just a small detail).
With coaching, you can learn how to frame so the landmark looks intentional, not accidental.
Stop 5: Magere Brug and the Amstel
Now you get a classic Amsterdam moment: Magere Brug, with the Amstel. This is one of those places where your camera settings really matter, especially if you’re on an evening tour.
If you struggle with night exposures, this is a strong practical target. If you’re doing daytime, it’s still a great stop for practicing contrast and timing.
Stop 6: Nieuwe Kerk
Next: Nieuwe Kerk. Churches and historic buildings are helpful because they reward patience. Even if you’re not going inside, you can focus on angles, architectural rhythm, and how to control light on stone and walls.
Potential drawback: if the lighting is harsh, it can push you into tricky exposure decisions. That’s where instruction pays off—because your guide can help you pick a workable approach on the fly.
Stop 7: Blauwbrug
You’ll shoot Blauwbrug. A bridge like this often offers a different feel from earlier canal crossings. Changing subject types is useful for learning—your settings and framing choices often need to shift.
Expect this stop to feel like a “test” of what you practiced earlier: can you keep control when the scene changes again?
Stop 8: Nieuwmarkt
At Nieuwmarkt, you’ll shoot the area around the square. This stop is good for learning how to handle a busier environment while still making your photo feel composed. It’s also a useful reminder that not every great shot is a postcard. Sometimes it’s a strong corner, a street mood, or a slice of daily life.
Stop 9: Huis Bartolotti (Museumhuis Bartolotti)
Finally, you’ll shoot Huis Bartolotti (Museumhuis Bartolotti). A finisher like this is smart because it brings you back to smaller details and distinctive architecture.
If you’ve been collecting technical lessons all afternoon, this last stop is where you can turn them into a final portfolio-style image: cleaner framing, better subject separation, and more confidence.
What the photographer teaches you (and why it sticks)
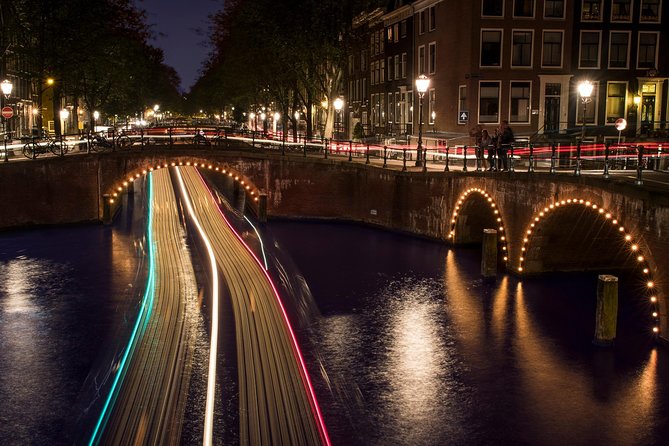
The heart of the experience is learning the basics in a way that changes what you do right afterward. The guidance is practical—settings, pointers, and feedback as you shoot.
This is especially valuable if you’ve ever felt stuck with a DSLR that seems powerful but confusing. One review highlighted the exact gap: someone didn’t realize what their camera could do, and after night-focused coaching, they could finally get successful results.
Another review pointed out tailoring: William adjusted the tour to the kind of pictures a person wanted to take and gave clear pointers that helped produce strong shots. That’s important because photography isn’t one-size-fits-all. Portrait-minded shooters need different advice than architecture-focused shooters.
So what should you expect to learn?
- How to set up shots faster (so you’re not scrambling)
- How to adjust your approach based on lighting
- How to think about composition before pressing the shutter
Pacing, group size, and comfort on a 3-hour walk
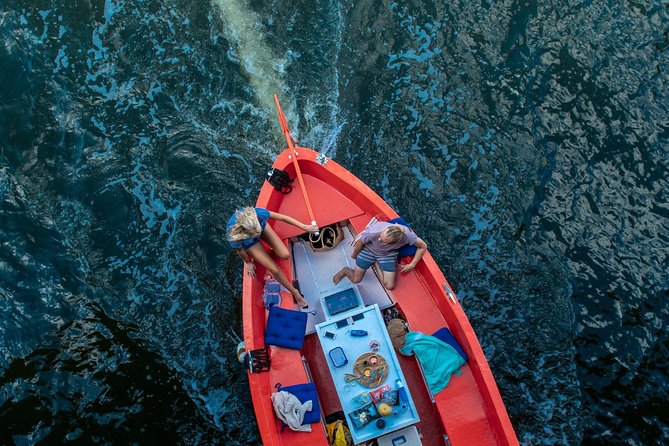
A 3-hour private photo walk is a sweet spot. Long enough to practice and get better, short enough that you don’t start feeling like your legs are negotiating for overtime.
Since it’s max 4 people, you’re less likely to lose time waiting for your turn. And because the stops are planned in tight chunks, the lesson stays active instead of turning into a slow lecture.
The weather note matters. The tour runs in all weather, so plan clothing that keeps you steady. When you’re cold or soaked, it’s hard to concentrate on camera settings.
Who should book this Amsterdam Photography Masterclass
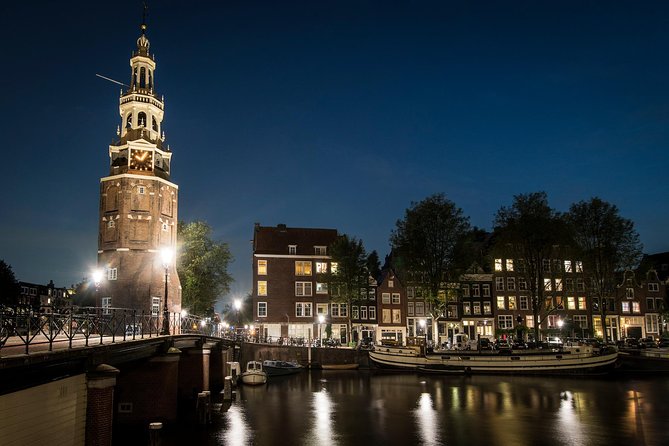
This class is a strong match if:
- You want to learn how to use your DSLR, not just take pictures
- You’re excited by Amsterdam’s iconic scenes but want better results
- You prefer small-group or private instruction
- You’re curious about night photography and want structured help
It may be less ideal if:
- You only travel with a smartphone and don’t plan to use a DSLR
- You want a pure museum-and-history tour with minimal photography focus
Should you book it? A quick decision guide
Book this if your goal is photos that look intentional. With a professional photographer guide and a route that mixes canals, bridges, and landmark architecture, you’ll get focused practice without wasting your limited Amsterdam time.
Skip or reconsider if you don’t want to use a DSLR. Since the camera is not provided, the lesson is built around equipment you bring.
One last tip for deciding: if you’re debating between day and evening, think about your current photo skills. If low light feels intimidating, the evening option may be the fastest path to real progress—especially based on the night-photo success stories you can’t fake with willpower.
FAQ
How long is the Amsterdam Photography Masterclass?
It runs for about 3 hours.
Is this tour private?
Yes. It’s a private tour/activity, and the booking is limited to a maximum of 4 people.
Where does the tour start?
The meeting point is Leidsekade 97, 1017 PN Amsterdam, Netherlands. The tour ends back at the meeting point.
What language is the instruction in?
The experience is offered in English.
Do I need to bring a camera?
Yes. You should bring your own DSLR camera. The tour does not provide a camera.
Is a tripod included?
A tripod is not included, but it’s available upon request.
Does it run in bad weather?
Yes. It operates in all weather conditions, so dress appropriately.
Are meals included?
No. Food and drinks are not included.
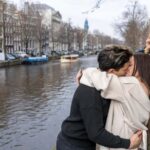
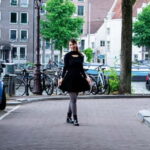
Frame-Worthy Shots of Amsterdam

Your Own Guide, Your Own Pace
More Tour Reviews in Amsterdam
Just added: fresh Amsterdam tour reviews


Workshops, compared.
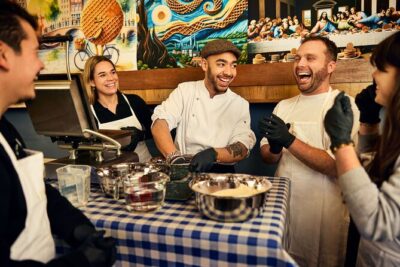 ★ 4.8Traditional Dutch Syrup Waffle Making WorkshopFrom $234,093 reviews
★ 5.0Amsterdam Traditional Dutch Syrup Waffle Making WorkshopFrom $27960 reviews
★ 4.8Traditional Dutch Syrup Waffle Making WorkshopFrom $234,093 reviews
★ 5.0Amsterdam Traditional Dutch Syrup Waffle Making WorkshopFrom $27960 reviews
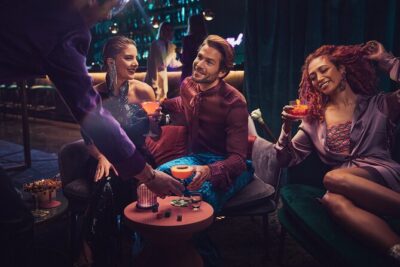 ★ 4.8Bols Cocktail Experience and Cocktail WorkshopFrom $41666 reviews
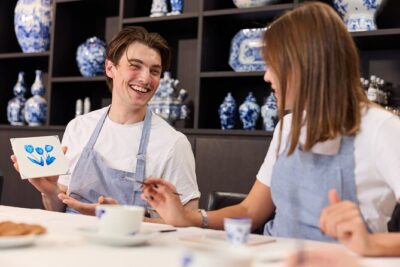 ★ 4.7Traditional Dutch Blue Tile Painting WorkshopFrom $25400 reviews
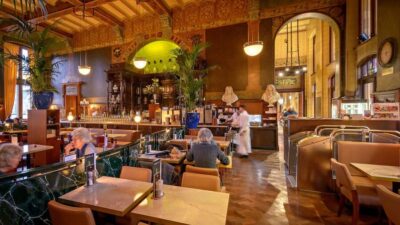 ★ 4.53-Course Meal in Historic 1st Class Waiting RoomsFrom $61292 reviews
 ★ 4.9Make your own Dutch Stroopwafel WorkshopFrom $23280 reviews
★ 4.5Amsterdam Bols Cocktail Experience and Cocktail WorkshopFrom $4182 reviews
★ 5.0Amsterdam Traditional Dutch Blue Tile Painting WorkshopFrom $2871 reviews
★ 4.9Make your own Dutch Stroopwafel WorkshopFrom $23280 reviews
★ 4.5Amsterdam Bols Cocktail Experience and Cocktail WorkshopFrom $4182 reviews
★ 5.0Amsterdam Traditional Dutch Blue Tile Painting WorkshopFrom $2871 reviews
Browse the lists this tour appears in