Reviewed · CHEESE
Amsterdam: Make your cheese next to De Hallen
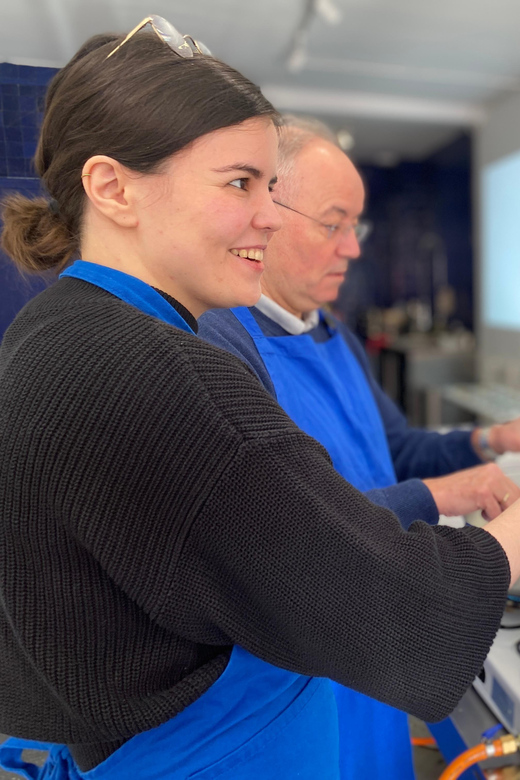
Cheese gets real fast when you make it. In this workshop at De Kaasserie near De Hallen, the interesting part is the switch from food-curious to food-capable: you learn the basics of cheesemaking and finish with a tasting of what you produced. I love that the small group format keeps the teaching practical and the questions coming, with Paula running the session in a friendly way.
I also like the structure: you make two different cheeses using two one-liter milk batches, then you add spices and herbs so your cheese tastes like you. By the end, you’re not just leaving with memories. You’re leaving with food, a few key supplies, and recipes by email so you can repeat the process at home.
One consideration: this activity isn’t suitable for people with lactose intolerance, since it’s built around milk and hands-on cheesemaking.
In This Review
- Key things to know
- De Kaasserie beside De Hallen: a cheese class with real results
- The 3-hour flow: welcome tea, two liters, and two cheeses
- Acid vs rennet coagulation: why the method matters
- Spices, herbs, and the small choices that shape your cheese
- Tasting your homemade cheese: fresh and pressed
- What you take home: two cheeses plus cloth, rennet, calcium, and recipes
- Price and value at $135 per person
- Who this Amsterdam cheese workshop fits best
- Before you go: practical tips and common gotchas
- Should you book Make your cheese next to De Hallen?
- FAQ
- Where does the workshop take place?
- How long is the experience?
- What will I make during the workshop?
- What’s included, and what do I take home?
- Do they provide coffee or alcohol?
- What languages are offered?
Key things to know
- Two coagulation methods, one workshop: you learn both acid-coagulated and rennet-coagulated cheesemaking basics
- You customize flavor: you can experiment with adding spices and herbs to your cheese
- You taste what you made: the session ends with a homemade cheese tasting including fresh and pressed results
- You take home the real materials: cheese cloth, rennet, calcium, plus your two cheeses
- Recipes arrive by email: you get instructions so you can try again later
- Small group size (max 10): you’ll get hands-on time instead of watching from the sidelines
More Dutch cheese to taste
- Amsterdam Classic Saloon Boat Cruise with Drinks and Cheese
★ 5.0 · 31,825 reviews - Amsterdam: Classic Saloon Boat Cruise with Cheese & Wine
★ 4.6 · 27,035 reviews - Amsterdam: Guided Zaanse Schans, Windmills & Cheese Tour
★ 4.4 · 4,826 reviews - Zaanse Schans Windmills, Clogs and Dutch Cheese Small-Group Tour from Amsterdam
★ 4.5 · 2,369 reviews
De Kaasserie beside De Hallen: a cheese class with real results
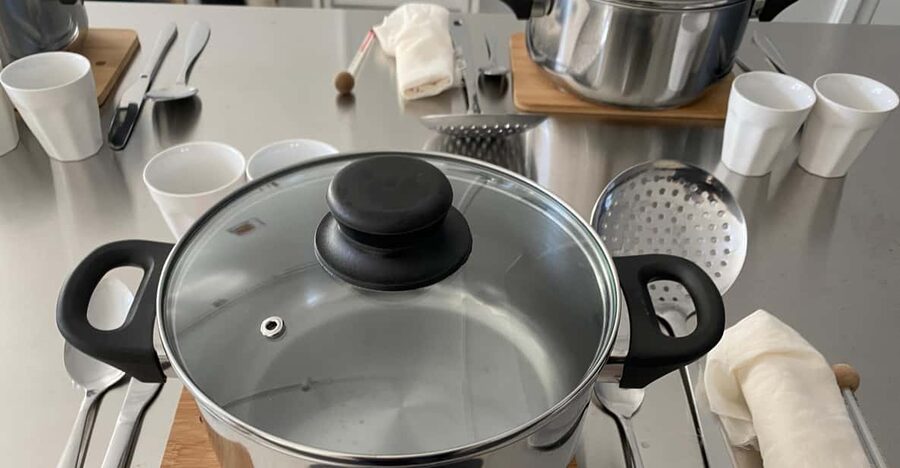
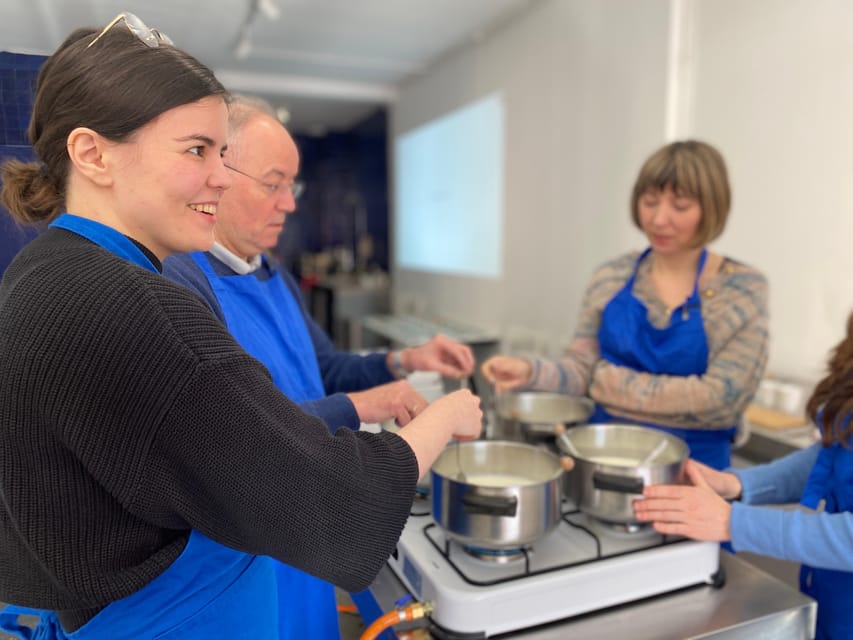
Amsterdam has plenty of food tours, but this is different. You’re not just eating cheese; you’re learning how cheese forms from milk and turning that into something you can take home. The setting at De Kaasserie makes it feel like craft work, not a performance.
You’ll start with a warm-up: a tea with an intro that sets the pace for the class. Then the workshop moves quickly into action, which I appreciate. You get to see how the process works instead of memorizing a bunch of theory.
And because the group stays small, it feels more like a shared project than an assembly line. Paula’s style, based on what you can expect from the teaching approach here, is part of the appeal. Short explanation first, then hands-on, with time for questions.
The 3-hour flow: welcome tea, two liters, and two cheeses
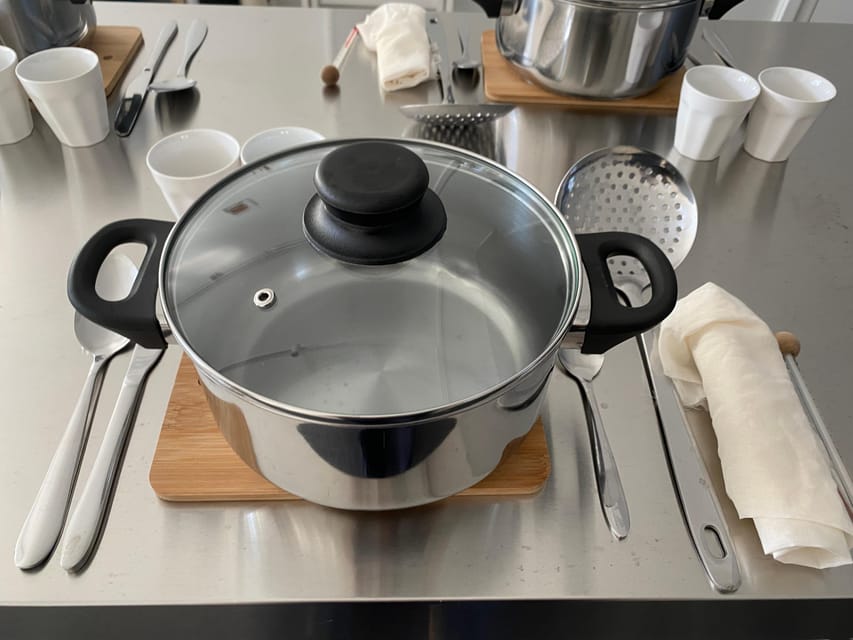
The timing here is tight in a good way. You meet at De Kaasserie, and once everyone’s there you’ll get a presentation covering what you’ll do and what you’ll learn. The goal is to make the process feel approachable, even if you’ve never made cheese before.
After the intro, you learn about two basic types of milk coagulation. That’s the heart of the workshop. It’s also the reason this class helps you move beyond tasting and into understanding.
Then comes the hands-on part. Using supermarket milk, you’ll work with two one-liter batches: one to make an acid-coagulated cheese, and another to make a rennet-coagulated cheese. The class note is specific: two milk cartons make two pieces of cheese, both of the fresh kind. That’s a fun detail because it frames expectations. You’re not waiting all day for a single outcome.
Once the curds and cheeses are formed, you’ll experiment with spices and herbs, adding your own twist. When both cheeses are ready, the session wraps with a tasting so you can compare results side by side.
Acid vs rennet coagulation: why the method matters
One of the most useful things you learn here is the difference between acid and rennet coagulation. You’re not asked to become a scientist. You’re shown the basic principle and how each method leads to a different approach.
There’s also an important practical note from the workshop itself: rennet coagulation is the procedure used to make aged cheese. That single statement changes the whole value of the class. You’re learning not only how to make something fresh today, but also how to continue toward longer, more complex recipes later.
Even though you’ll still make fresh cheeses in this workshop, you’re getting the foundation for future cheesemaking. In other words, the rennet lesson isn’t just trivia. It’s the bridge to your next project at home.
Spices, herbs, and the small choices that shape your cheese
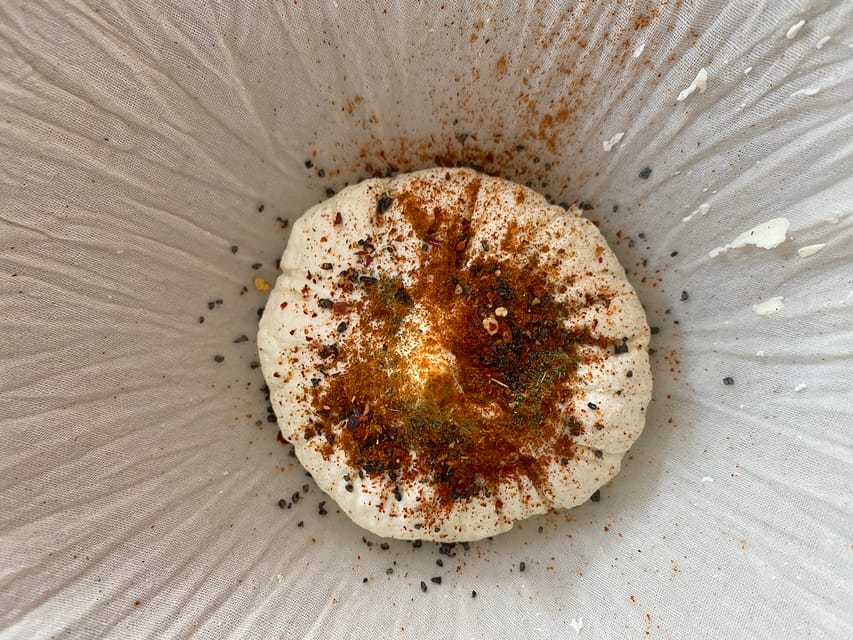
A lot of workshops stop at the basics. This one lets you play. You’ll be encouraged to experiment with adding spices and herbs to your cheese. That’s where the class turns into something personal.
You’re tasting as you go at the end, so you can connect your choices to your results. That makes the experience stick in your brain. You’re learning cause and effect, not just following steps.
If you like cooking with spices, this part is especially satisfying. You can keep it simple or go bolder, depending on what you enjoy eating. Either way, it helps you leave with cheese that tastes like you, not like a generic sample.
Tasting your homemade cheese: fresh and pressed
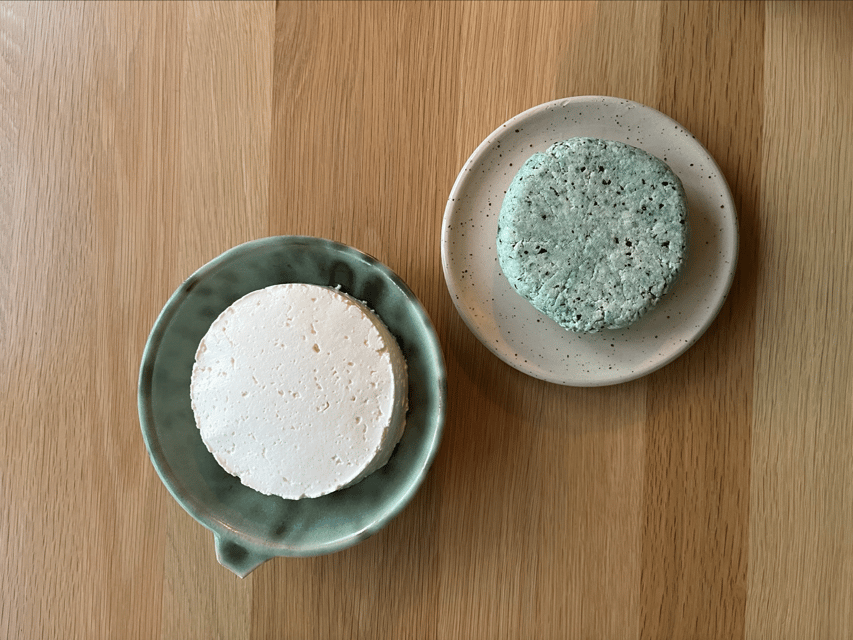
The session ends with a tasting of the cheeses you made. The included tasting includes fresh and pressed results, so you get a quick comparison in the same setting.
Tastings are great, but this one is more than sampling. It’s your chance to notice how method and handling affect texture and flavor. You can think of it as your quality-control moment: what you expect from the process, what you actually get, and what you want to try differently next time.
Because you produced both cheeses, the tasting feels grounded. It’s not, Where did this come from? It’s, I made this, and I can see how it got here.
What you take home: two cheeses plus cloth, rennet, calcium, and recipes
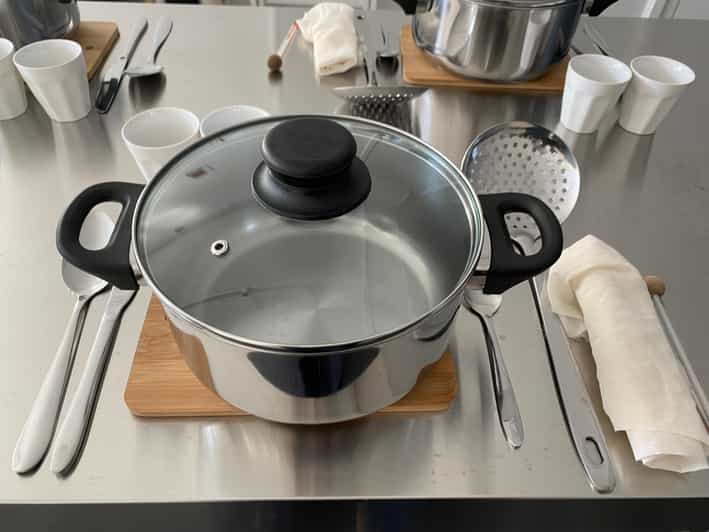
This workshop has one big advantage: you leave with a kit. Included in the take-home are two cheeses, a cheese cloth, rennet, calcium, and recipes delivered by email.
That matters for value. If the class only gave you a tasting, it would feel like a one-off experience. Instead, you have the core ingredients and tools to attempt it again. The email recipes are also a practical safety net, since you can review the steps later instead of relying on memory.
You’ll also have something that’s hard to replicate: your own fresh cheeses, ready to enjoy soon after the class. That turns the experience into dinner, or a party snack, or gifts for people who insist they are hard to impress.
Price and value at $135 per person
At $135 per person for about three hours, this isn’t a budget activity. But it’s not overpriced for what you’re getting either.
You’re paying for several things that add up:
- instruction on two coagulation methods
- hands-on cheesemaking with two one-liter batches
- flavor experimentation with spices and herbs
- a tasting of your results
- and the take-home value: two cheeses plus cloth, rennet, calcium, and emailed recipes
If you’ve ever taken a class and left with only notes, you’ll likely like this setup. The supplies and take-home cheese mean you get both the learning and a tangible payoff immediately.
Also, because the group is limited to 10 participants, you’re more likely to get personal attention while you work. That’s part of the value equation. Smaller groups often mean more time actually doing the task.
Who this Amsterdam cheese workshop fits best
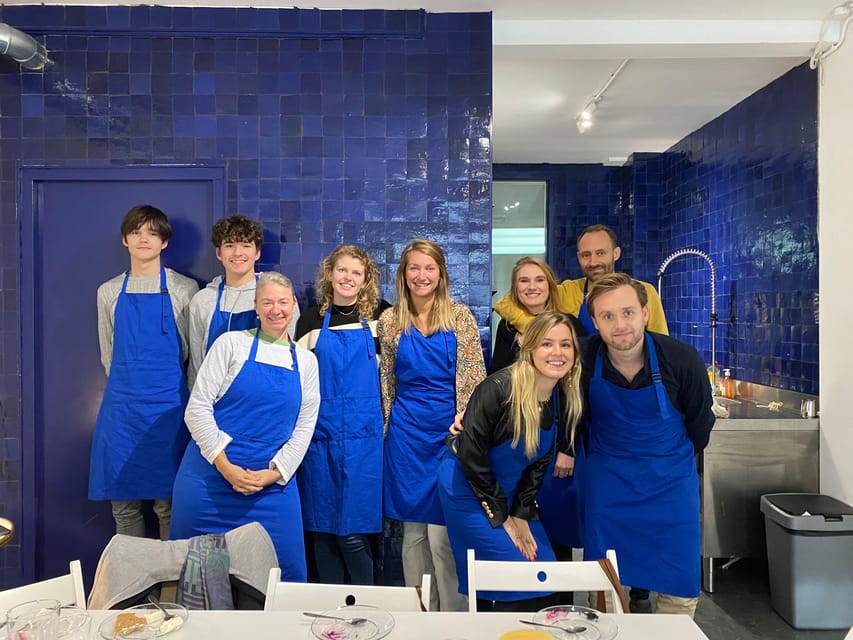
This class is best for adults who want a skill, not just a food stop. It’s a solid pick if you like hands-on learning and you want something you can continue at home.
You’ll likely enjoy it if you:
- are curious about why cheese sets and how different methods lead to different outcomes
- want a memorable food experience near De Hallen that feels like craft work
- like experimenting in the kitchen, even casually
It’s not suitable for:
- children under 16
- people with lactose intolerance
- people over 95
Language support is a helpful plus. The instructor can teach in English, Spanish, French, and Dutch, so you’re not stuck if your travel language skills are patchy.
Before you go: practical tips and common gotchas
First, plan your day around a 3-hour session. This is focused time, so give it a clean chunk in your schedule rather than squeezing it between long museum hops.
Second, remember the drink plan is simple: you’ll have tea, and there’s no coffee or alcohol included. If you’re used to pairing snacks with coffee breaks, plan your caffeine before or after.
Third, be realistic about the take-home logistics in your plan. You’ll leave with cheese and supplies. If you’re traveling light, it helps to have room in your bag for a cheese cloth and ingredient items, not just the cheese itself.
Should you book Make your cheese next to De Hallen?
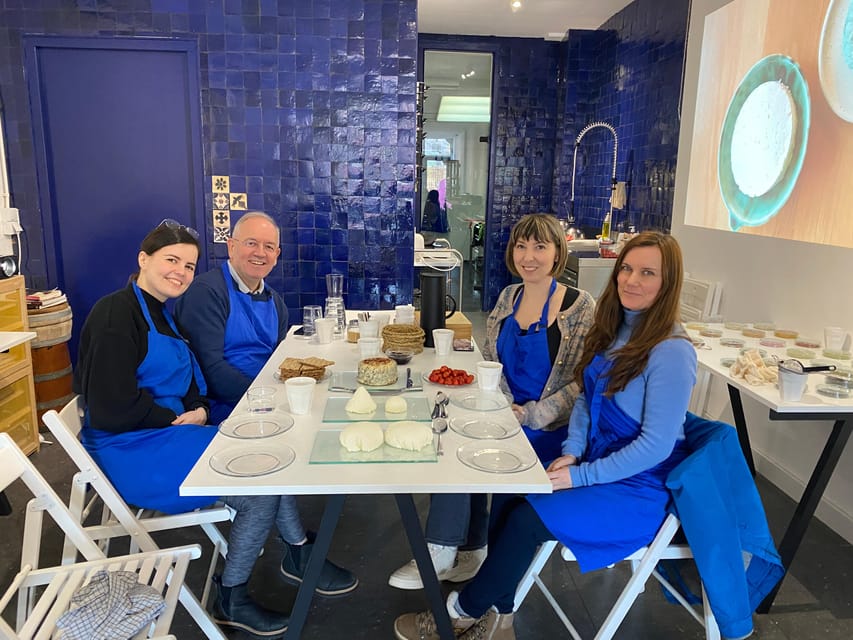
If you want a straightforward Amsterdam experience that teaches a real craft, I’d book it. The big win is the combo of two cheeses, clear lessons on acid vs rennet, a guided tasting, and a kit you can use again at home.
Skip it if lactose intolerance is part of your situation, since the workshop is built around milk and cheesemaking steps that aren’t described as modified. Also skip it if you want something purely passive. This is active work for the whole time.
For most food lovers and cooking-curious adults, it hits a sweet spot: fun in the moment, plus instructions and materials that let the experience keep going after you get back to your kitchen.
FAQ
Where does the workshop take place?
You meet at De Kaasserie. The exact meeting point may vary depending on the option you book.
How long is the experience?
It lasts 3 hours.
What will I make during the workshop?
You’ll make two types of fresh cheese: one acid-coagulated cheese and one rennet-coagulated cheese. Two milk cartons (two one-liter batches) make two pieces of cheese.
What’s included, and what do I take home?
Included are tea with an introduction, making two cheeses, and a cheese tasting (fresh and pressed). You also take home two cheeses, a cheese cloth, rennet, calcium, and recipes by email.
Do they provide coffee or alcohol?
No. Coffee and alcoholic beverages are not included.
What languages are offered?
The instructor can teach in English, Spanish, French, and Dutch. The group is limited to 10 participants.
More Dutch Cheese
- Zaanse Schans Windmills, Clogs and Dutch Cheese Small-Group Tour from Amsterdam
★ 4.5 · 2,369 reviews




More Tour Reviews in Amsterdam



Just added: fresh Amsterdam tour reviews



Cheese, compared.
 ★ 5.0Amsterdam Classic Saloon Boat Cruise with Drinks and CheeseFrom $2131,825 reviews
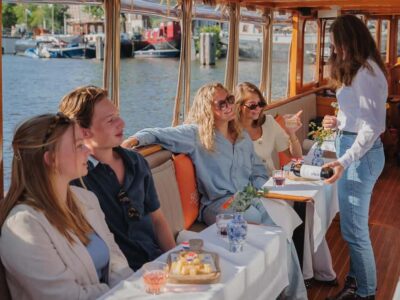 ★ 4.6Classic Saloon Boat Cruise with Cheese & WineFrom $1827,035 reviews
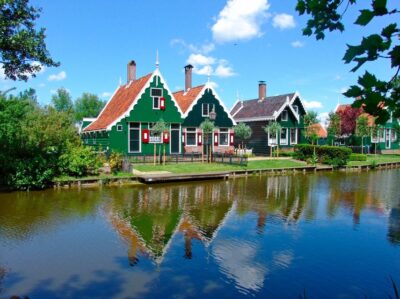 ★ 4.4Guided Zaanse Schans, Windmills & Cheese TourFrom $224,826 reviews
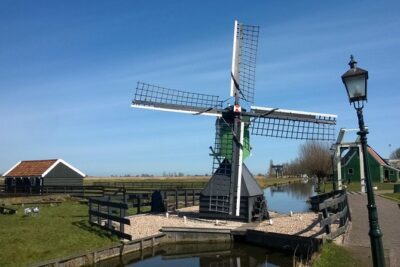 ★ 4.5Zaanse Schans Windmills, Clogs and Dutch Cheese Small-Group Tour from AmsterdamFrom $512,369 reviews
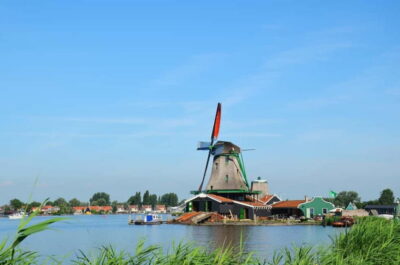 ★ 4.6From Amsterdam: Volendam and Zaanse Schans Tour with CheeseFrom $401,993 reviews
 ★ 4.6Evening Candle Light Cruise With Wine & CheeseFrom $181,774 reviews
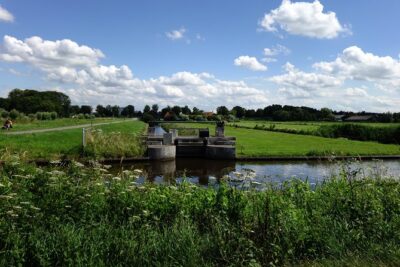 ★ 5.0Countryside Bike Tour from Amsterdam: Cheese, Clogs & a WindmillFrom $591,485 reviews
 ★ 4.7Giethoorn Tour Scenic Cruise, Cheese & Free TimeFrom $751,461 reviews
Browse the lists this tour appears in